

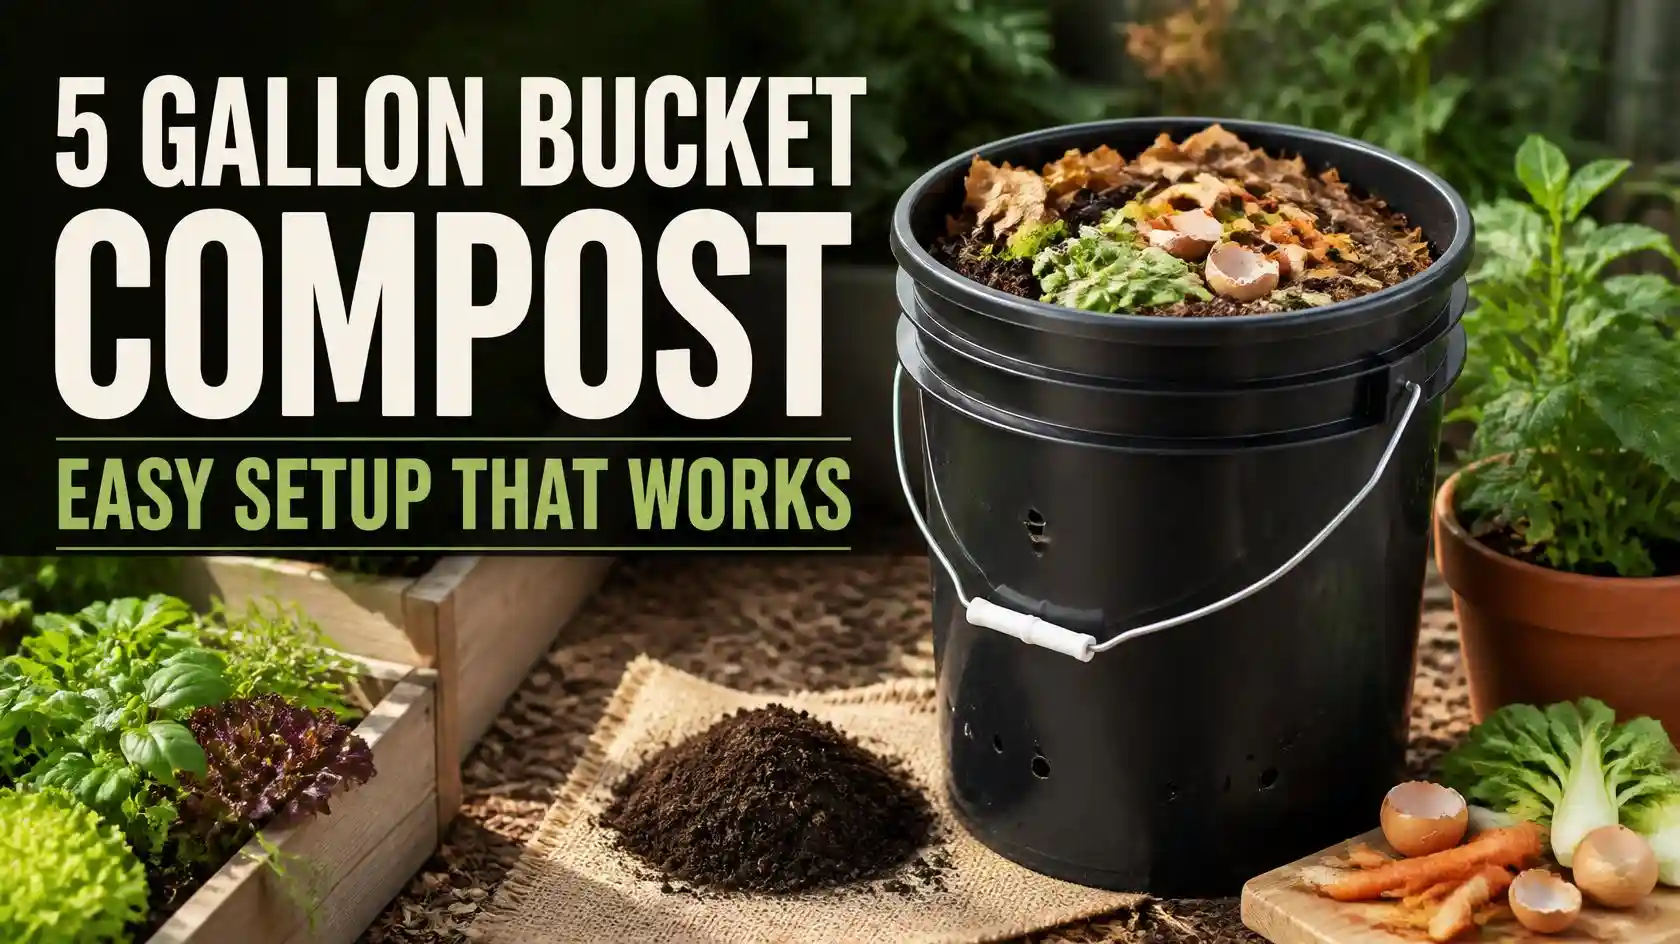

Most composting advice assumes you have a yard. A pile, a tumbler, some corner of a garden to let things rot. If you’re short on space – an apartment, a small patio, a rented home – you need something smaller. A 5 gallon bucket compost setup solves that. Two buckets, a drill, and a pound of red wigglers is all it takes.
Here’s the full setup.
What You Need Before You Start
You don’t need much, and most of it costs under $20 total.
Materials:
- 2 five-gallon buckets (solid-colored, not clear – worms dislike light)
- 1 tight-fitting lid
- A drill with a 3/16″ bit
- Red wiggler worms (Eisenia fetida) – ½ to 1 pound to start
- Bedding material: shredded cardboard, newspaper, or coconut coir
- Kitchen scraps
One bucket will be your working bin (drilled). The other sits underneath as a sump, catching leachate – that liquid drainage is “worm tea,” a useful liquid fertilizer on its own.
Why Red Wigglers and Not Regular Earthworms
This is where most beginners go wrong. Regular earthworms – the ones you dig up from your yard – are burrowers. They need deep soil to tunnel through. In a bucket, they’ll stress out trying to escape through the bottom and die.
Red wigglers are different. They’re surface feeders that evolved to live in decomposing organic matter: manure, leaf litter, food scraps.
They stay near the top, tolerate disturbance, and eat up to half their body weight in scraps per day. They also reproduce quickly in confinement. For a closed bin like this, they’re the only worm that works.
You can order red wigglers from reputable worm farms online. Expect to pay around $25–$35 per pound shipped. For a 5 gallon bucket, ½ pound (roughly 250–500 worms) is enough to start.
How to Build Your 5 Gallon Bucket Compost System
Step 1: Drill the working bucket
Take one bucket and drill 10–15 holes in the bottom (3/16″ bit). Then drill 15–20 holes in the sides, spaced roughly an inch apart from the bottom quarter up. These side holes are critical – they provide airflow that prevents anaerobic conditions and the sulfur smell that comes with them.
Step 2: Set up drainage
Nest the drilled bucket inside the undrilled bucket. This catches any leachate that drips through. If you want, cut a small piece of window screen or mesh and place it in the bottom of the drilled bucket so the drainage holes don’t clog with castings.
Step 3: Add bedding
Fill the working bucket 4–6 inches deep with moistened bedding. Shredded cardboard or newspaper works well. Squeeze a handful – it should feel like a wrung-out sponge, damp but not dripping. Dry bedding dehydrates your worms. Soaking-wet bedding causes rot and odor.
Step 4: Add your worms
Place the worms on top of the bedding. They’ll burrow in within a few hours. Don’t bury them – just set them on top and let them move in on their own.
Step 5: Add food scraps and put the lid on
Bury scraps a few inches into the bedding rather than leaving them on the surface. Exposed scraps attract fruit flies. Drill a few small holes in the lid for ventilation.
What to Feed (and What to Skip)
| ✅ Feed These | ❌ Avoid These |
|---|---|
| Fruit and vegetable scraps | Meat and fish |
| Coffee grounds and filters | Dairy products |
| Eggshells (crushed) | Oily or fried foods |
| Plain bread or crackers (small amounts) | Onion and garlic (worms dislike them) |
| Shredded paper and cardboard | Citrus in large quantities |
| Tea bags (non-plastic) | Spicy foods |
Aim for a roughly 60/40 ratio of bedding to food scraps. Too much food without enough bedding and the bin gets wet, acidic, and smelly. When in doubt, add more shredded cardboard.
Keeping the Bin Healthy
Temperature: Red wigglers do best between 55°F and 75°F. Keep the bucket out of direct sun and away from heating vents. If you’re in a region with cold winters, bring it indoors – these worms can handle light frost but will slow down significantly below 50°F.
Moisture: Check bedding moisture every week or two. If it feels dry, mist lightly. If liquid is pooling, add dry shredded paper.
Aeration: Give the bucket a gentle stir every few days. You don’t need to overdo it – just enough to prevent the contents from compacting.
Overfeeding: The most common mistake. Add scraps every 2–3 days at first. Watch how fast the worms process food before increasing the amount. A pile of rotting uneaten scraps means you’re feeding too fast.
When and How to Harvest
After 2–3 months, the bottom of your working bucket will fill with dark, crumbly castings that smell like fresh earth. That’s finished vermicompost.
The easiest harvest method: push all the bin contents to one side. Add fresh bedding and food scraps to the empty side. Over the next week or two, the worms will migrate toward the fresh food. Then scoop out the finished castings from the other side.
Your worm tea (the leachate in the bottom bucket) can be diluted 1:10 with water and used directly on plants.
FAQ
Can I keep a 5 gallon bucket compost bin indoors?
Yes. A well-maintained bin has no odor. The smell-free rule is simple: bury your scraps, maintain a 60/40 bedding-to-food ratio, and don’t let the bin get waterlogged. Most people keep theirs under a kitchen sink or in a laundry room without issue.
How long does it take to get finished compost from a bucket bin?
Typically 8–12 weeks from when you first add worms. The timeline depends on temperature, moisture, and how often you feed. Warmer conditions and consistent feeding speed things up.
How many worms do I need for a 5 gallon bucket?
Start with ½ to 1 pound of red wigglers. That’s roughly 250–500 worms. They’ll reproduce naturally to match the food supply – you won’t need to add more unless you want to scale up.
What’s the difference between vermicompost and regular compost?
Vermicompost (worm castings) is denser in nutrients than standard hot compost and contains beneficial microbes that standard compost often lacks. Studies from Ohio State University have shown vermicompost can improve plant germination rates and soil structure more than traditional compost alone.
Why are my worms trying to escape the bucket?
Usually one of three reasons: the bin is too wet, too acidic (from citrus overload or too many coffee grounds), or there’s not enough bedding. Add dry shredded cardboard, check your moisture level, and reduce food inputs for a few days.
Can I use regular garden worms instead of red wigglers?
No. Garden earthworms are burrowers built for deep soil. They’ll try to escape a bucket bin and won’t thrive in decomposing organic matter the way red wigglers do. Use Eisenia fetida specifically.
Set up your bucket, add your worms, and let them do the work. If you run into issues or want to scale up to a larger vermicomposting system, Worm Help has more detailed guides on bin management, troubleshooting, and harvesting methods.

Leave a Comment