Your kitchen scraps go straight in the bin every day – and that’s a waste. “Those vegetable peels, eggshells, and tea bags could be turning into rich worm castings.
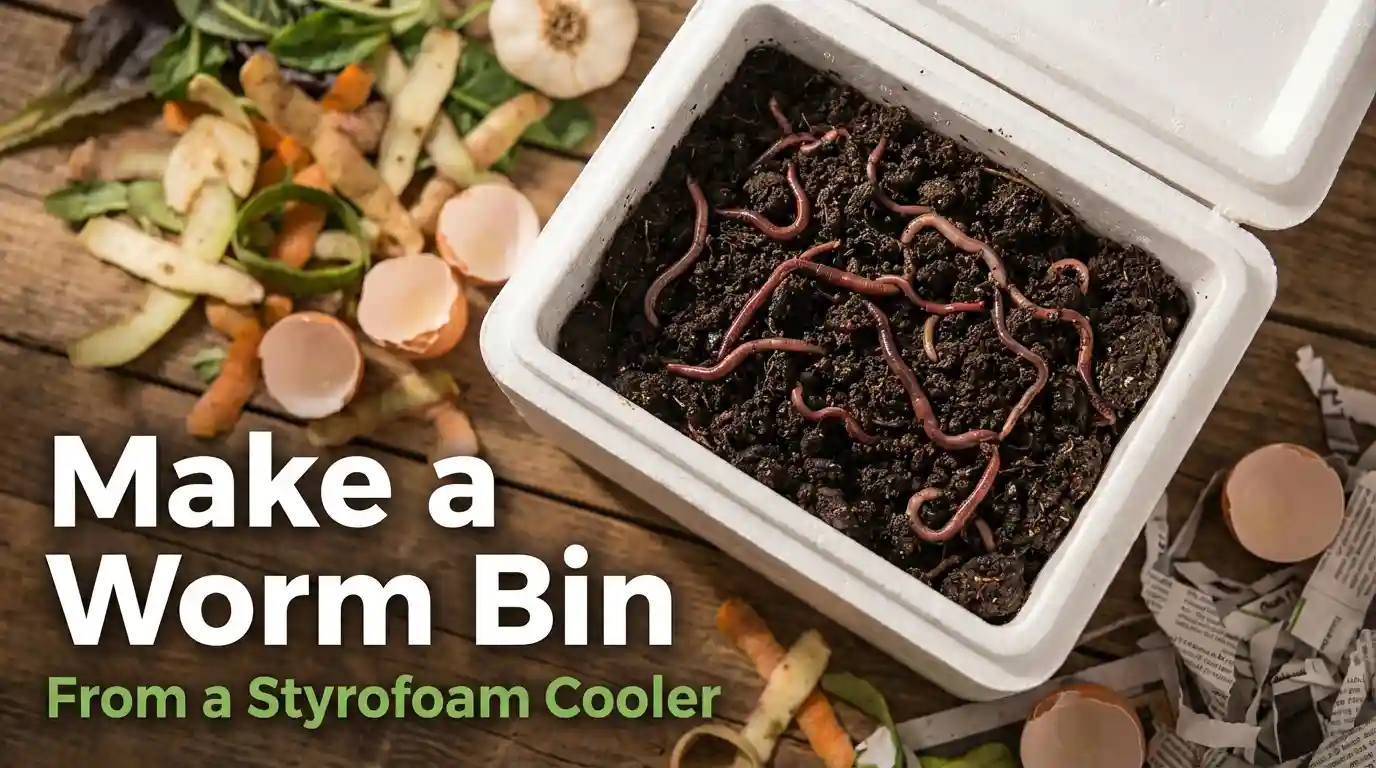
The good news? You don’t need to buy anything fancy. Learning how to make a worm bin from a styrofoam cooler takes under an hour and costs almost nothing.
The steps are simple – but getting a few key details right makes the difference between a thriving bin and a smelly failure.
Here’s exactly what to do, and why each step matters.
What You’ll Need to Build Your Worm Bin
Gather these materials before you start:
- Recycled styrofoam cooler
- Drill with a large drill bit
- Shredded paper
- 2–3 full pages of newspaper or printer paper
- Soil
- Spray bottle filled with water
- Vegetable scraps
- Red wriggler worms
A quick note on worms: red wrigglers are the only type suited for a contained DIY compost bin. They feed at the surface, tolerate crowded conditions, and reproduce quickly. Don’t substitute regular garden earthworms — they aren’t built for this environment.
If you’re curious about exactly how red wrigglers differ from other composting worm species – and why no other species comes close for a contained bin – our detailed worm comparison guide breaks it down species by species.
Step 1 – Drill Ventilation Holes in the Cooler Lid
Without airflow, the bin turns anaerobic — meaning it loses oxygen, stops working, and starts to smell.
Step 2 – Build the Worm Bin Bedding Layer
Fill the cooler about halfway with shredded paper. This is your worm bedding — it’s where your worms will live and eventually break down alongside your food.
Wet the bedding evenly with your spray bottle. The target: it should feel like a well wrung-out towel – damp throughout, but not dripping. This is the single most important thing to get right during setup.
Next, mix in some soil. Soil brings in the beneficial microbes that help break down organic matter and gives your worms a familiar environment to settle into. Keep it moist, not muddy.
Step 3 – Add the Worms and First Food Scraps
Place your red wrigglers on top of the bedding and watch them burrow downward almost immediately. They’re escaping the light — that’s healthy, natural behavior.
Now add food. Start with one cup of vegetable scraps or less. New worms need time to acclimate before their appetite kicks in, and too much food too soon rots faster than they can process it.
Good starter foods from the reference guide include carrot and potato peels, eggshells, and used tea bags. Avoid meat, dairy, and oily scraps — they attract pests and create odors that are hard to reverse.
Step 4 – Cover, Store, and Maintain Your Worm Bin
Lay 2–3 full sheets of paper flat on top of the bedding and spritz them lightly with water. These top sheets slow evaporation and help regulate moisture between feedings.
Place the lid on and find a stable storage spot — somewhere that won’t get too hot or too cold. Worms are sensitive to temperature extremes on both ends.
After that, maintenance comes down to two habits. Check the top sheets regularly; when they feel dry, spritz the upper layer with water. If the bin starts to smell, it’s usually too wet — add dry shredded paper to absorb the excess.
And as your worm population grows, gradually increase how much you’re feeding. Worms can survive on paper alone, but composting kitchen scraps is what makes this worthwhile.
Common Worm Bin Mistakes Beginners Make
Overfeeding from day one
Start small. One cup of scraps is enough while the colony is getting established. Scale up only as the population grows.
Wrong moisture level
Too wet causes anaerobic smell; too dry kills your worms. Always aim for that well wrung-out towel feel — damp but never soggy.
Using the wrong worms
Red wrigglers are non-negotiable for vermicomposting for beginners. Garden earthworms won’t thrive in a small, contained bin.
Wrong storage location
Avoid hot garages and freezing sheds. A stable, moderate temperature keeps the colony active and feeding.
If you’ve set up your bin and the worms seem to have vanished despite doing everything right, temperature stress is one of the top culprits — we cover all six reasons (and how to recover) in this worm disappearance troubleshooting guide.
FAQ: Worm Bin Basics
How often should I feed my worm bin?
Check every few days at first. Feed only when the previous scraps are mostly broken down. Overfeeding is the #1 beginner mistake.
Why does my worm bin smell?
Almost always excess moisture. Mix in dry shredded paper to rebalance, and check that your ventilation holes are open and unblocked.
What can’t I put in a worm bin?
Avoid meat, dairy, oily foods, and citrus peels in large amounts. These either attract pests or are too acidic for young worm colonies.
How long before I get worm castings?
Typically 3–6 months for a first harvest, depending on how consistently you feed and how fast the population grows.
Start Your DIY Worm Bin Today
Making a worm bin from a recycled styrofoam cooler is one of the easiest, most rewarding composting projects you can start at home. Nail the moisture balance, feed gradually, and store it somewhere stable — that’s the whole formula.
Within a few months, you’ll be harvesting worm castings to feed your garden naturally.
👉 Download the free worm bin setup checklist to keep every step handy as you get started — no experience required.
Leave a Comment