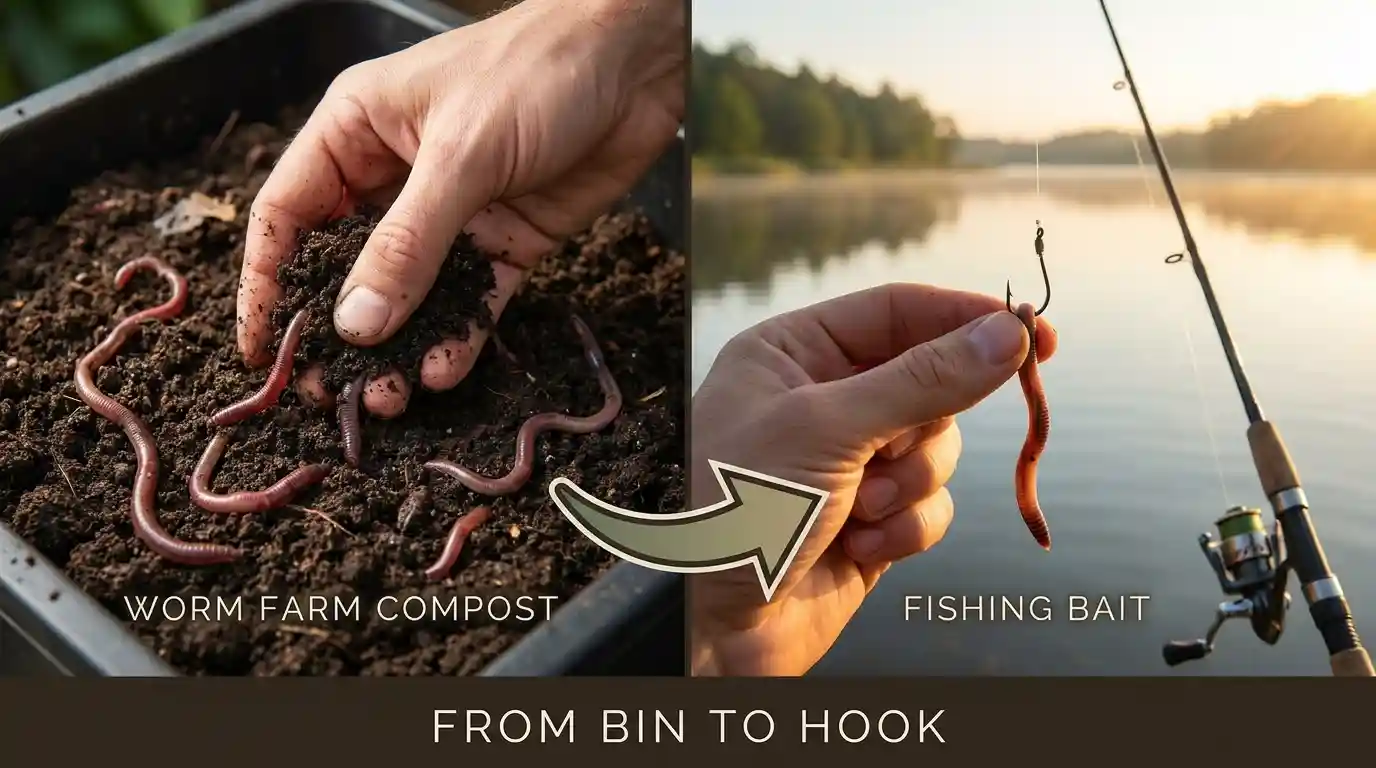
If you’re already running a worm farm, you’re sitting on one of the best fishing bait supplies you’ll ever have – and most people don’t even realize it.
A worm farm for fishing isn’t just a money-saver; it gives you a steady, on-demand supply of lively, healthy worms that fish can’t resist. No more last-minute bait shop runs. No more dead worms in a styrofoam cup.
This guide covers everything: why worms work so well as bait, how to set up your bin specifically for fishing, how to harvest without wrecking your colony, and how to keep your worms thriving through heavy use.
Why Worms Make Such Good Fishing Bait
Fish don’t think — they react. And worms trigger every feeding instinct they have.
Worms are nutritionally dense: they’re high in protein (around 60–70% dry weight), contain essential amino acids, and have a fat content that gives off a strong scent trail in water. That scent is a big deal. When a worm hits the water, it releases chemical signals that fish can detect from several feet away.
Beyond nutrition, it’s the movement. A live worm wriggles continuously on the hook, which mimics injured prey. That action is what turns a curious pass into a bite.
Red wigglers (Eisenia fetida) — the most common vermicomposting worm — are especially effective. They’re tougher than nightcrawlers on the hook, stay lively longer in water, and their slightly pungent smell is actually a bonus when you’re fishing.
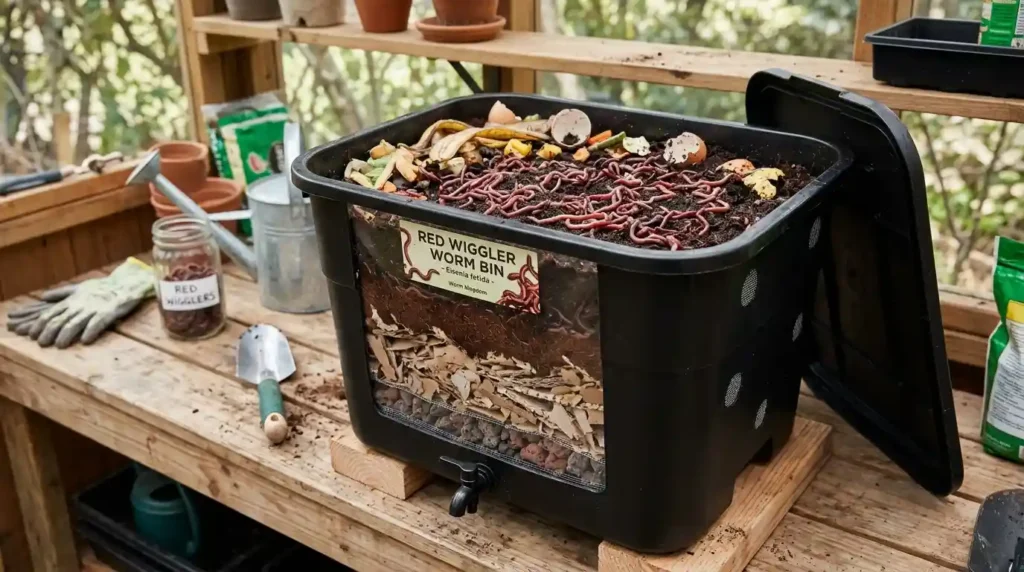
Setting Up a Worm Farm Specifically For Fishing
If you’re building a worm bin with fishing in mind, a few tweaks make a real difference.
Bin size: A standard 10-gallon plastic bin works for casual use, but if you’re fishing regularly, go bigger — a 20–30 gallon bin gives you a larger colony and more room to harvest without destabilizing the population.
Bedding: This is where most fishing-focused setups differ from regular compost bins. For fishing worms, use:
- Shredded, moistened cardboard or newspaper as your base
- A layer of coco coir for moisture retention
- A small amount of garden soil to introduce grit (worms need it for digestion)
Avoid adding too much citrus, onion, or strongly acidic food scraps. These can make your worms sluggish and give them an off-smell that fish don’t like as much.
Moisture level: Aim for bedding that feels like a wrung-out sponge — damp but not dripping. Worms breathe through their skin; too dry and they die, too wet and the bin turns anaerobic.
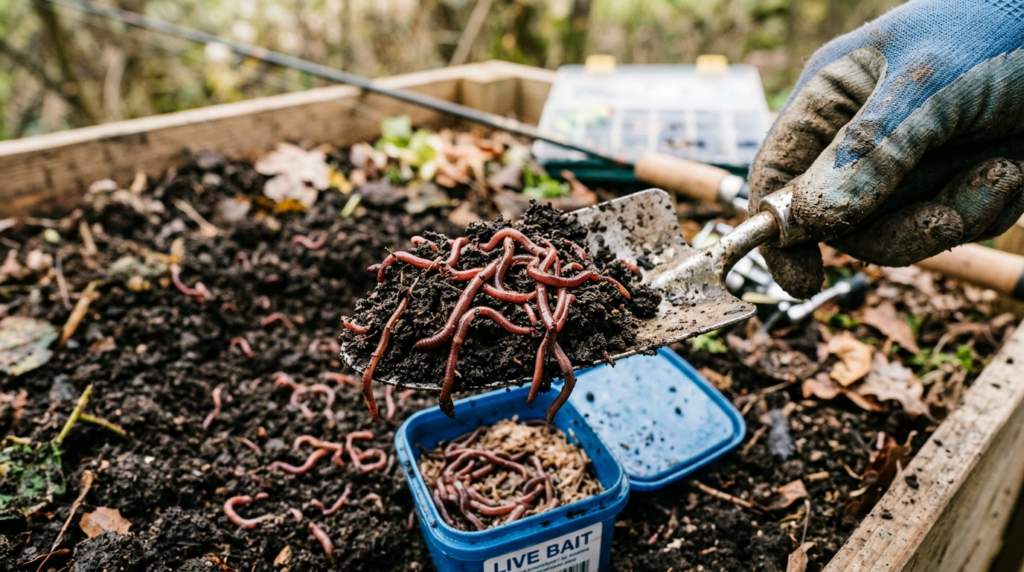
Harvesting Worms For Bait Without Wrecking Your Colony
The wrong harvesting approach can crash your worm population fast. Here’s how to do it right.
The light method (easiest):
Spread your bin contents under a bright light or in direct sun. Worms hate light and will dive to the bottom within a few minutes. Scoop away the top layer of castings, wait again, repeat. You’ll end up with a pile of worms at the bottom with minimal casting contamination.
The dump-and-sort method:
Dump the bin onto a tarp or plastic sheet. Form it into a cone shape in the light. The worms will cluster at the center-bottom. Peel off the outer layers every 10–15 minutes until you’ve collected what you need.
The migration method (slowest, least disruptive):
Push all existing bedding to one side. Add fresh, moist bedding and food scraps to the other. Within 1–2 weeks, most worms will migrate to the new side. Harvest from the old side with minimal disturbance to the colony.
For fishing, aim to harvest no more than 10–15% of your visible worm population at a time. This keeps the colony stable and reproducing.
Keeping Your Worm Farm Healthy Under Heavy Harvest
Regular harvesting puts stress on your colony. Here’s how to keep it productive all season.
Feed consistently
After a harvest, give your worms a generous feeding of vegetable scraps, coffee grounds, and moistened cardboard. This accelerates recovery and egg production. Worm cocoons hatch in 3–4 weeks, so you’ll see population recovery relatively quickly if you feed well.
Don’t over-harvest in summer
Heat slows reproduction and increases mortality. If you’re fishing heavily in peak summer, consider splitting your colony into two bins — harvest from one while the other recovers.
Check pH periodically
Worm bins can turn acidic over time, especially if you’re adding a lot of fruit scraps. Add crushed eggshells or a small pinch of agricultural lime every few weeks to buffer the pH and keep your worms active.
Watch the population
A healthy bin should have worms at multiple stages — adults, juveniles, and cocoons (tiny lemon-shaped capsules). If you’re only seeing adults and no cocoons, you’re either over-harvesting or the conditions aren’t right for breeding.
Safety & Tips: Storing Bait and Avoiding Contaminants
Getting your worms to the water in good shape is just as important as growing them.
Storing bait worms:
- Use a small container (old yogurt tub, bait cup) with air holes
- Fill with moist bedding from your bin — not plain dirt
- Keep them cool: 50–60°F (10–15°C) is ideal. A cooler with an ice pack underneath the container works well
- They’ll stay lively for 2–3 days this way
Contaminants to avoid in your worm bin:
- Pesticides or herbicides — never add garden waste treated with chemicals. Worms absorb toxins, and you don’t want that passing into water or onto your hands
- Meat, dairy, or oily food — these attract pests and produce harmful ammonia in the bin
- Cat or dog feces — can introduce pathogens. Stick to herbivore manure (rabbit, horse) if you want to add manure at all
On the water:
- Wet your hands before handling worms — dry skin can damage them and reduce their scent trail
- Hook through the worm’s collar (the thicker band near the head) for the most movement and durability. For a visual on hooking technique, this guide from Take Me Fishing covers live bait rigging well.
- Keep your bait cup out of direct sun while fishing
Start Using Your Worm Farm for Fishing This Season
A worm farm for fishing is one of those setups that pays back every time you go out. Once your colony is established, you’ve got unlimited, free, high-quality bait on demand — and a compost operation running in parallel.
Start with a 20-gallon bin, get your bedding right, and harvest conservatively at first. Within a season, you’ll have more bait than you can use.
Leave a Comment