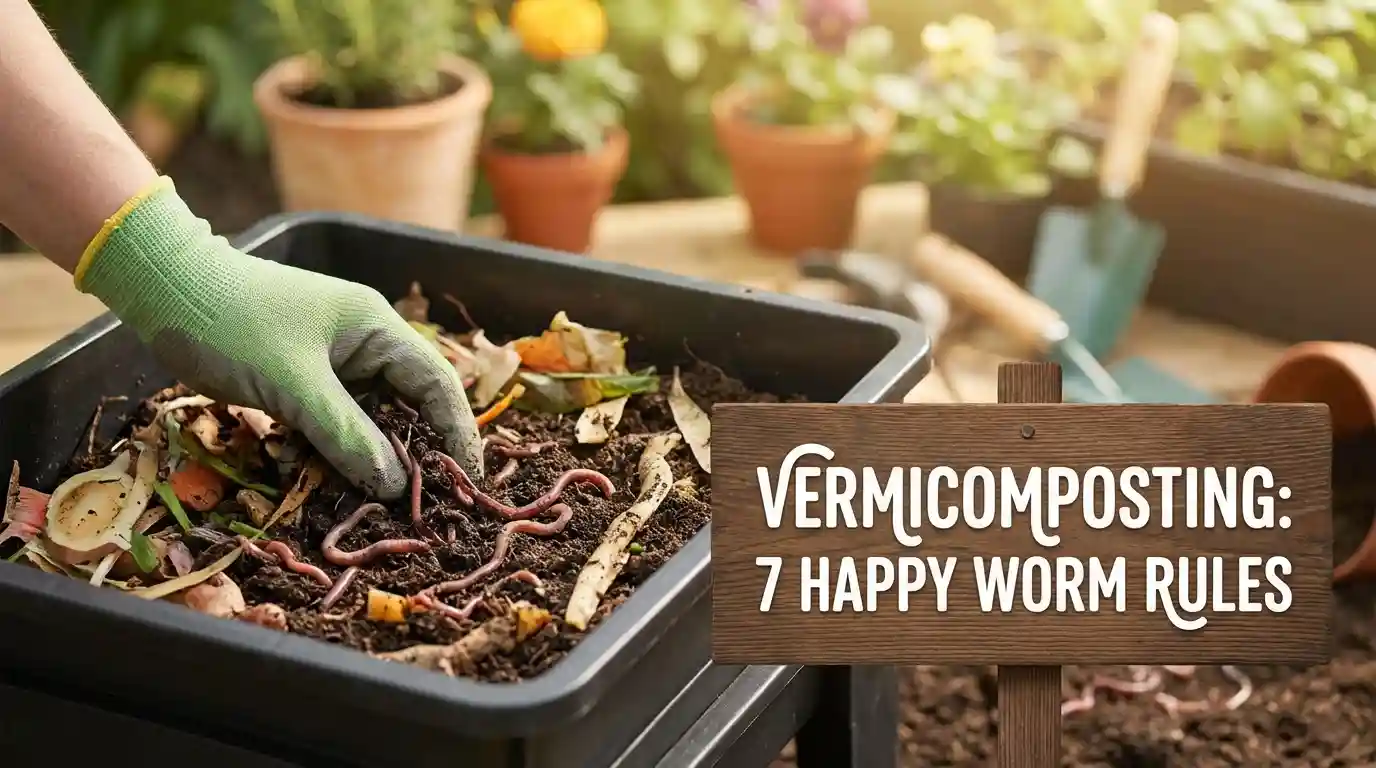
Setting up your vermicompost heap is only half the job. The other half is keeping it alive and working. A neglected heap can go wrong fast — it can dry out, overheat, smell terrible, or lose most of its worms within weeks.
The good news is that maintaining a vermicompost heap takes less than 10 minutes a week if you follow these 7 simple rules.
Rule 1 – Check the Moisture Level Every Week
Your heap should feel like a wrung-out sponge — damp but not dripping. Pick up a handful of material and squeeze it. If no water drips out and it holds its shape loosely, the moisture is perfect.
- Too dry? Sprinkle water gently over the top layer.
- Too wet? Add a layer of dry cardboard, straw, or dry leaves immediately.
Worms breathe through their skin. If the heap is too dry, they will die. If it is too wet, they will drown or escape.
Rule 2 – Never Let the Temperature Go Above 35°C
Worms thrive between 15°C and 25°C. If your heap gets too hot — especially in summer – your worms will try to escape or die.
How to keep it cool:
- Place your heap in a shaded spot away from direct afternoon sun
- Water it lightly on hot days
- Avoid adding large amounts of fresh grass clippings at once as they generate a lot of heat
Rule 3 – Keep Adding Food in Small Amounts
Do not dump large amounts of food waste all at once. Add small amounts every few days instead. This prevents overheating, reduces bad smells, and keeps your worms feeding steadily.
Best foods to add:
- Fruit and vegetable scraps
- Coffee grounds and tea bags
- Crushed eggshells
- Shredded cardboard and paper
Never add:
- Meat or fish
- Dairy products
- Oily or spicy food
- Citrus in large amounts
Rule 4 – Always Cover Fresh Food With a Carbon Layer
Every time you add fresh food scraps, cover them immediately with a thin layer of dry carbon material — shredded cardboard, straw, or dry leaves work perfectly.
This is the single most important rule for preventing bad smells and keeping pests away.
The carbon layer also helps balance the nitrogen from your food waste, which speeds up the composting process.
Rule 5 – Do Not Turn the Heap
This is a mistake many beginners make. A vermicompost heap is not the same as a traditional compost heap. You do not turn it.
Turning the heap disturbs your worms, damages their egg cocoons, and disrupts the layered structure that makes the system work. Simply keep adding new material to the top and let the worms do their job from the bottom up.
Rule 6 – Check for Pests Once a Month
Do a quick visual check around and inside your heap once a month. Look for:
- Flies or maggots – you are probably adding too much fruit. Cover with extra carbon material and reduce fruit scraps temporarily.
- Ants – the heap is too dry. Add water.
- Rodents – you may have added meat or dairy by mistake. Remove any such scraps immediately and place wire mesh around the base of the heap.
Rule 7 – Watch Your Worm Population
A healthy heap should have a visible and growing worm population. NC State University Extension’s vermicomposting resource highlights that the four key factors — temperature, moisture, oxygen, and pH – all work together to determine how quickly your worm population grows and how effectively they process waste.
Keeping these in balance is what separates a thriving heap from a failing one. Every month or so, gently dig into the lower section of your heap and check.
Signs your heap is healthy:
- Lots of worms at different life stages
- Dark, earthy-smelling material at the bottom
- Worm cocoons (tiny yellowish-gold capsules) visible in the material
Signs something is wrong:
- Very few worms visible
- Worms clustering at the surface trying to escape
- Foul smell instead of earthy smell
If worms are trying to escape, check moisture and temperature first — those are the two most common causes.
Frequently Asked Questions
How often should I check my vermicompost heap?
A quick 5-minute check once a week is enough for moisture and food levels. A deeper check once a month for pests and worm population is ideal.
Can I leave my heap unattended for 2 weeks?
Yes, as long as it has enough moisture and food before you leave. Add a thick layer of food scraps and cover with damp cardboard. It will manage itself for up to 2 weeks.
My heap has a bad smell – What do I do?
Add a thick layer of dry carbon material (cardboard or straw) immediately. Stop adding food for one week. Then resume with smaller amounts and always cover with carbon after each addition.
Conclusion
Maintaining a vermicompost heap is mostly about consistency over perfection. Check it weekly, feed it in small amounts, keep it moist but not wet, and your worms will reward you with rich, finished compost in just a few months. For a full guide on setting up your heap from scratch, read our heap method of vermicomposting guide.
Leave a Comment