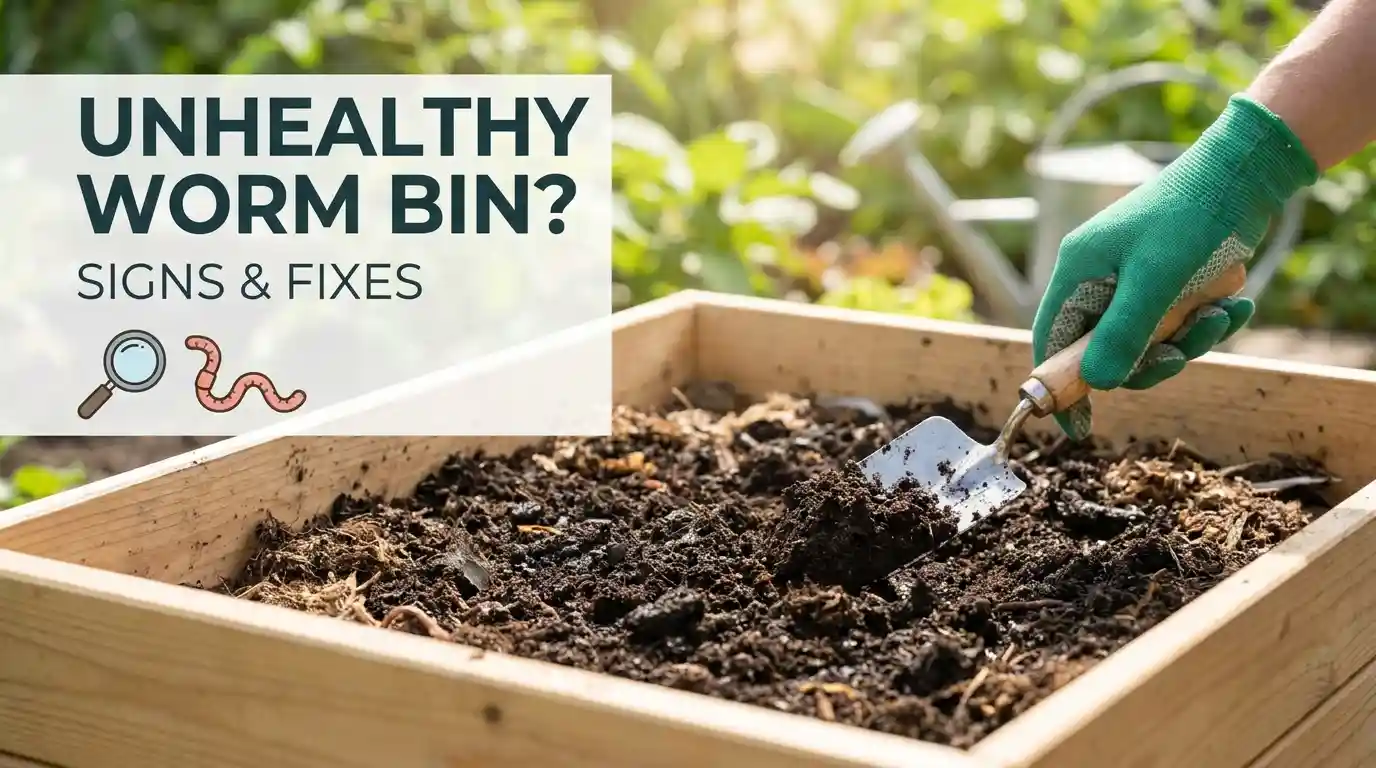
A healthy worm bin mostly takes care of itself. An unhealthy one shows clear warning signs — you just need to know what to look for. If your worms are escaping, the bin smells bad, or you’re seeing more pests than worms, something is off.
The good news: most worm bin problems have a simple fix once you identify the cause. Here are the most common signs your worm bin is unhealthy, what’s causing them, and what to do.
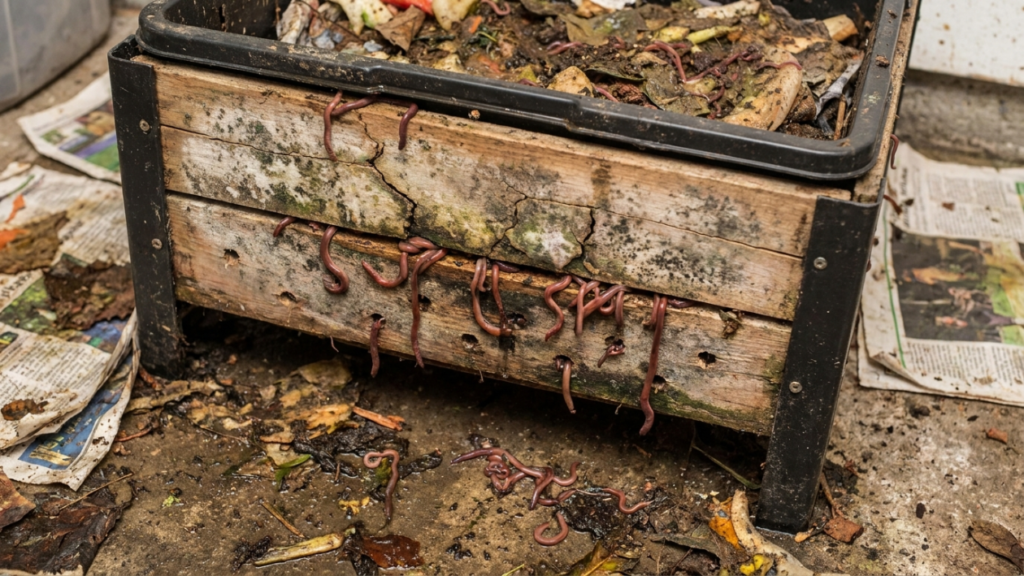
1. Worms Are Trying to Escape
This is the clearest distress signal a worm bin can send. Healthy worms stay in the bedding and work. When they start climbing the walls, clustering near the lid, or escaping onto the floor — something inside the bin has become intolerable.
Common causes:
- Bin is too wet or too dry
- pH has dropped too low (too acidic)
- Temperature is too high
- Pests are stressing them — including ants
If you’re also seeing ants in or around the bin, read this: Will Ants Kill Compost Worms? Expert Answer + Fixes – ants are one of the most overlooked reasons worms try to escape.
Fix: Check moisture first. Bedding should feel like a wrung-out sponge. Then check what you’ve been feeding — too many acidic scraps (citrus, coffee grounds) drop the pH fast. Add crushed eggshells or a light dusting of garden lime to neutralize.
2. The Bin Smells Bad
A working worm bin should smell like fresh earth. If it smells like rotting food, ammonia, or sewage — conditions have gone anaerobic, meaning there’s not enough oxygen in the bin.
This almost always comes from one of two things: overfeeding or too much moisture.
When food piles up faster than worms can process it, it starts to rot. When the bin gets waterlogged, air pockets collapse and the whole system goes anaerobic.
According to UCSB’s vermicomposting troubleshooting guide, too much nitrogen relative to carbon causes ammonia buildup — which can actively kill your worms, not just smell bad.
Fix: Stop adding food for a week. Turn the bedding to reintroduce air. If it’s too wet, add dry carbon material — shredded cardboard, dry leaves, or coco coir. Never add fresh food scraps on top of rotting ones.
3. You’re Seeing More Pests Than Worms
A few fungus gnats or mites are normal. When you lift the lid and see a thriving population of pests before you see any worms — that’s a problem.
Different pests signal different issues:
- Fungus gnats — bin is too wet, food left on the surface
- Mites in large numbers — acidic conditions, overfeeding protein scraps
- Ants — bin is too dry or too acidic (see the ants article linked above)
- Fruit flies — fruit scraps not buried deep enough
Fix: Match the pest to the cause. Most pest problems in worm bins trace back to moisture imbalance or incorrect feeding. Bury food scraps at least 2–3 inches deep every time. Balance wet food scraps with dry carbon material.
4. Worm Population Is Shrinking
If you started with a healthy population and you’re now finding fewer worms – or smaller, thinner worms — something is actively harming them.
Possible causes:
- Temperatures too high (above 30°C / 86°F) or too low (below 10°C / 50°F)
- Bin too acidic — worms stop reproducing and eventually die in acidic conditions
- Toxic food added — onions, garlic, spicy foods, meat, or dairy in large quantities
- Protein poisoning — too many nitrogen-heavy scraps cause a harmful chemical reaction
Fix: Check what you’ve been adding over the past few weeks. Remove any uneaten problem scraps. Add fresh bedding and ease off feeding until the population stabilizes. If the bin is in direct sun or an unventilated shed, relocate it.
5. Bedding Has Gone Slimy or Compacted
Worms need loose, airy bedding to move through. When bedding turns into a dense, slimy mat – worms can’t function properly and oxygen can’t circulate.
This happens when there’s too much moisture and not enough carbon material in the mix.
Fix: Add dry shredded cardboard or newspaper and turn the whole bin. This reintroduces air and absorbs excess moisture at the same time. Going forward, match every batch of wet food scraps with an equal volume of dry bedding material.
6. No Castings Being Produced
If you’ve had the bin running for 2–3 months and you’re not seeing any dark, crumbly castings at the bottom – the composting process has stalled.
Usually this means worms are underfed, the bin is too cold, or the population is too small for the bin size.
Fix: Feed more consistently — small amounts every 2–3 days rather than large batches once a week. If the bin is cold, move it somewhere warmer. If the worm count is low, reduce the bin size or add more worms.
Conclusion
Most worm bin problems come down to three things: moisture, pH, and feeding habits. Get those right and worms largely take care of themselves.
Leave a Comment